Rhyming Case/Example

First step is to select some software. I previously selested an app called AudioNoteLite. This app is a multipurpose tool and not specific to rhyming. Using File:Example evaluation.pdf, as covered inUnit Three - Software, I noticed the apps flexibility as far as its usability across the phonological awareness task list. I also noticed it was weak in intuitiveness and guidance. This would mean that I will need to support the software in these areas in order for it to help my students. This is covered in Unit Five - Supplements & Supports.
The next step is to develop a plan to integrate the mobile device and software into the lesson, covered in Unit Four - Phonological Integration. After looking at the lesson plan, I felt the mobile device would be an excellent followup activity to further learning the concept of rhyme. The strength of AudioNoteLite is its ability to marriage text and vocals. Promoting awareness of word to sound is the precise mechanism to early literacy, and this program does that well. It also does this through the use of people's voices known to the student therefore making it more personable. The visual blue highlighting of the words is also very important for a student to make that connection. It's very hard to recreate that visual cue in real life which makes this a uniquely valuable tool.

Using the the index cards prepared and used in session one, students can type/write and speak the words on the cards into the app. Pictures can also be added to the cards to assist those that are not proficient with phonics yet. Students first select the B folder for rhyming. They then review one of the previous entries already made to get an idea of the goal. Students create a new note, use their names for the title and select the type tool or pencil for writing. Pressing the record button starts the recording. Students say the first word and then spell out the word. Repeat the process for the matching pair. If the child has grasped the idea and so chooses, they may add another rhyming word to their list. Hitting the pause button stops the recording and completes the note.

The final step is to create any materials and/or processes to help create a meaningful experience while the student is using the mobile device. This is covered in Unit Five - Supplements & Supports. In this example I needed to create a guide sheet to assist the students in the precise process and accuracy of selections to ensure success. We know this from looking at our evaluation sheet showing us the weakness in software guidance and intuitiveness.
Added Benefits:
- Word to Sound Recognition
- Asynchronous Self Hearing
- Verbal or Verbal/Written Flexibility
- Motivational
- Assessment and Digital Portfolio
- Group Collaboration
- AudioNoteLite Screens - Rhyming Lesson
-
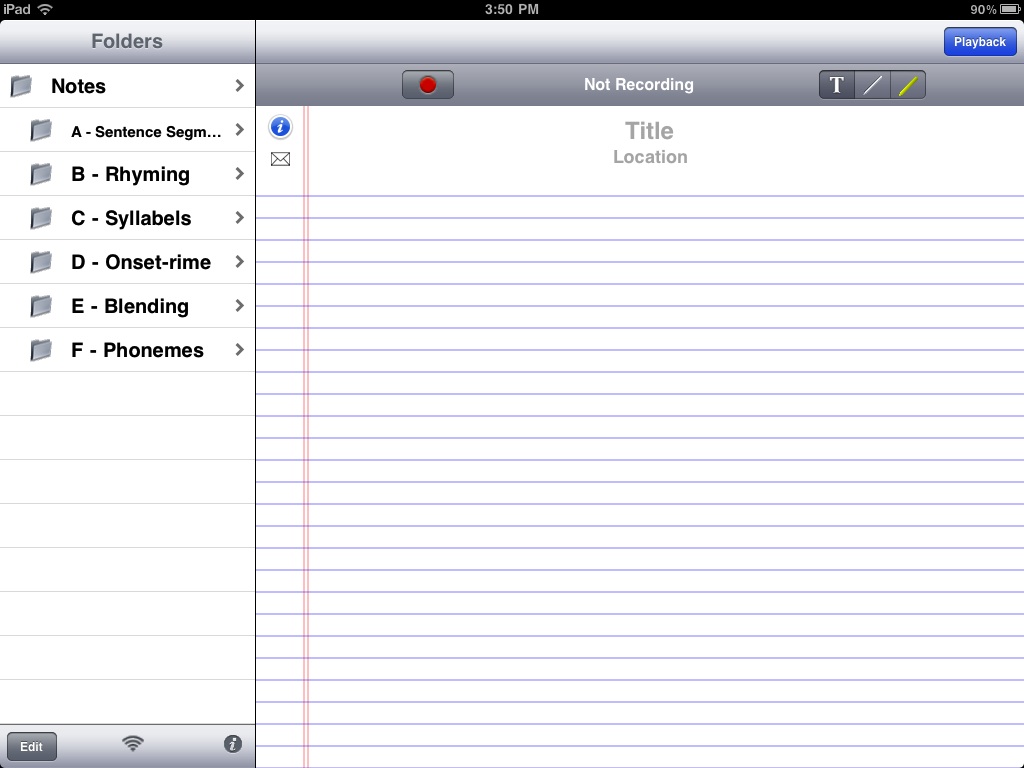 Folder View, added letter prefixes for children to navigate easily.
-
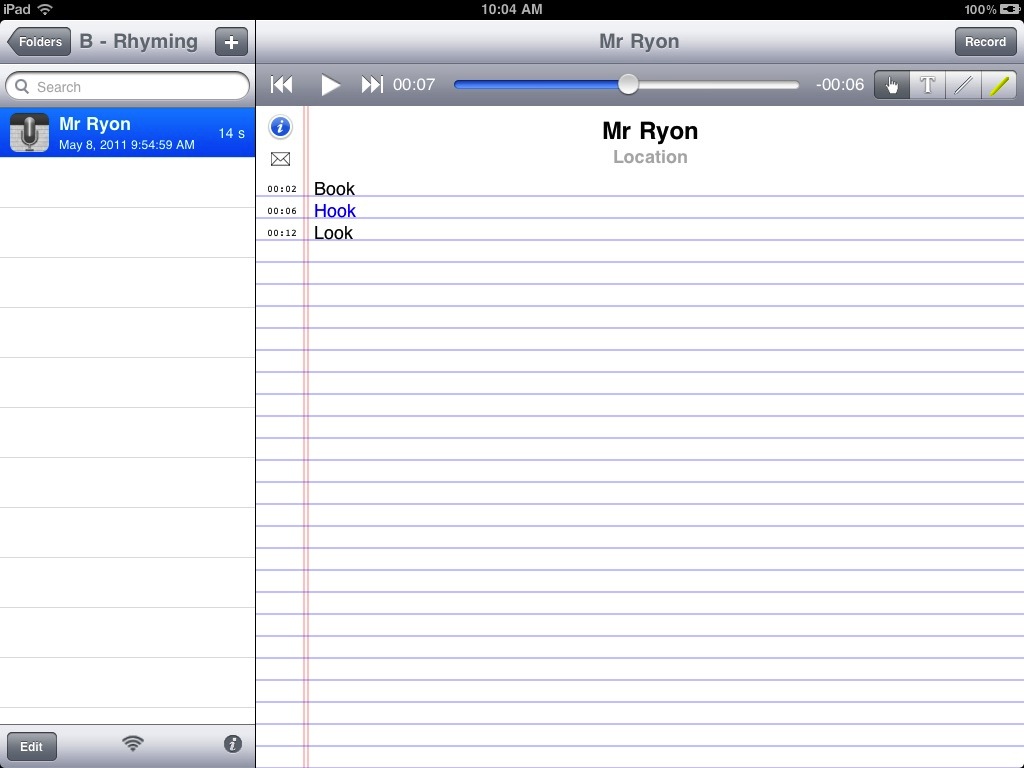 Starting Screen, The teacher is the first to do an entry as a model.
-
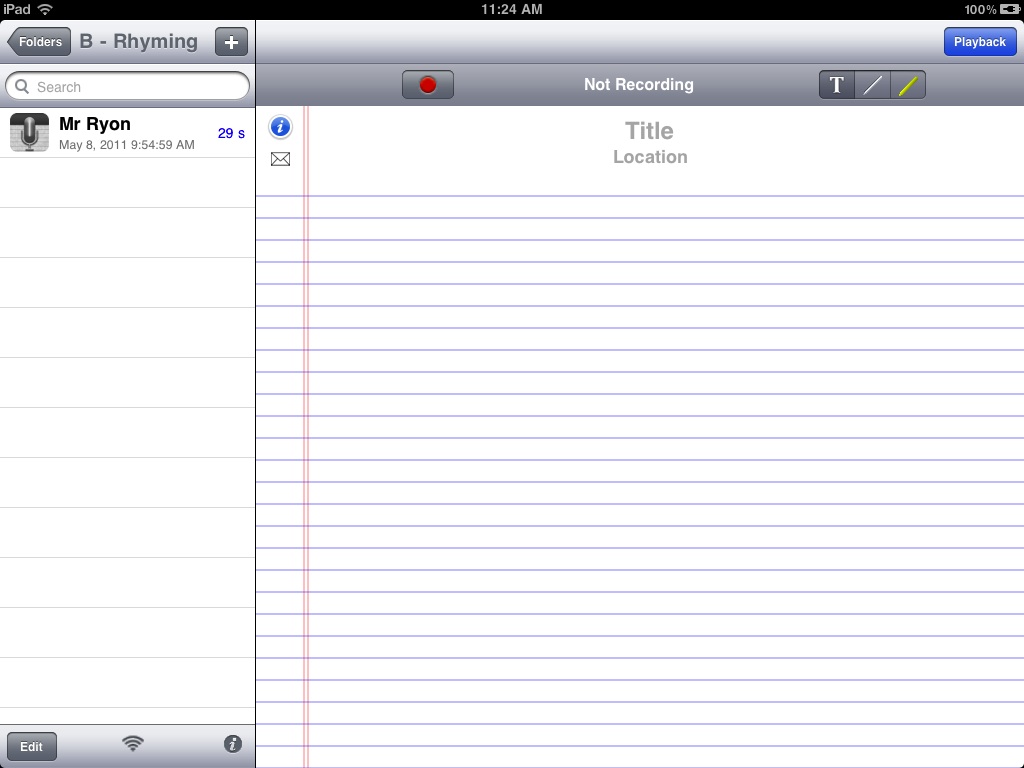 Note Screen, is a blank note read to be filled.
-
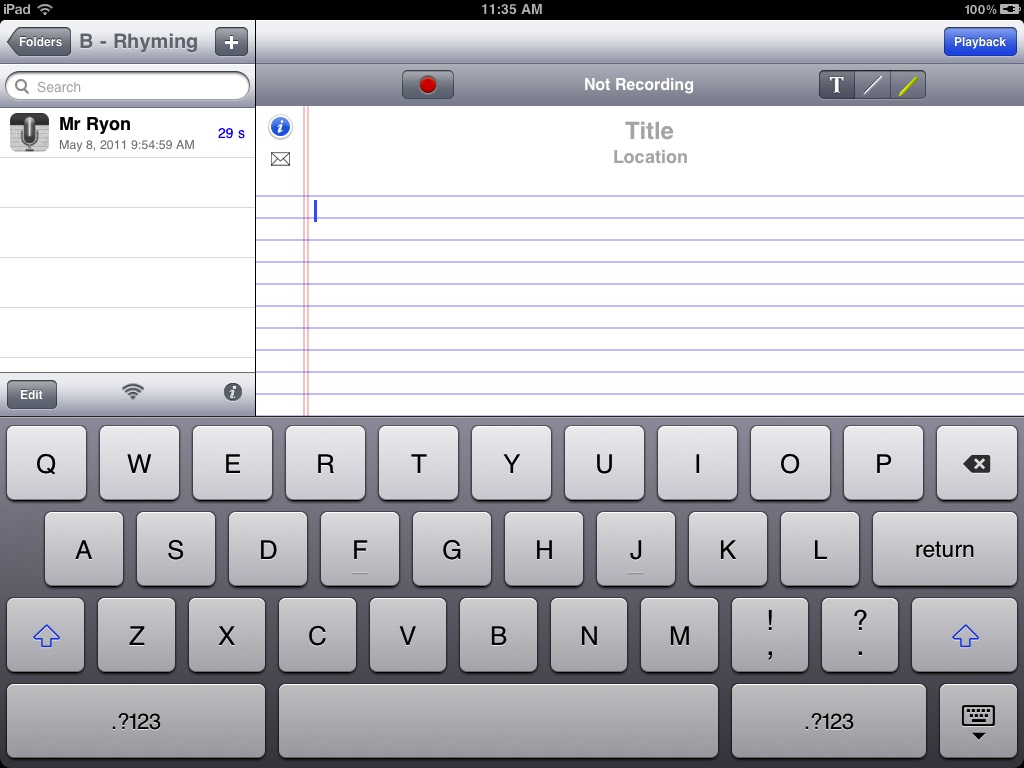 Typing Screen, shows the onscreen keyboard and cursor ready for typing.
-
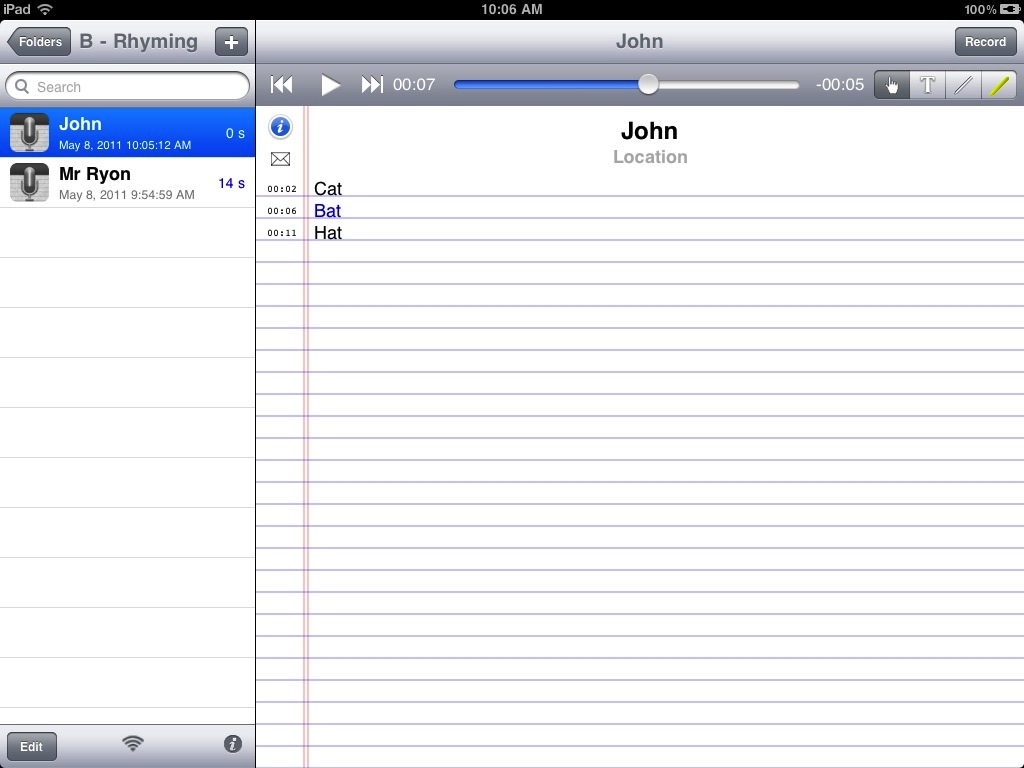 John's Entry, note the highlighted word in blue is the one being spoken.
-
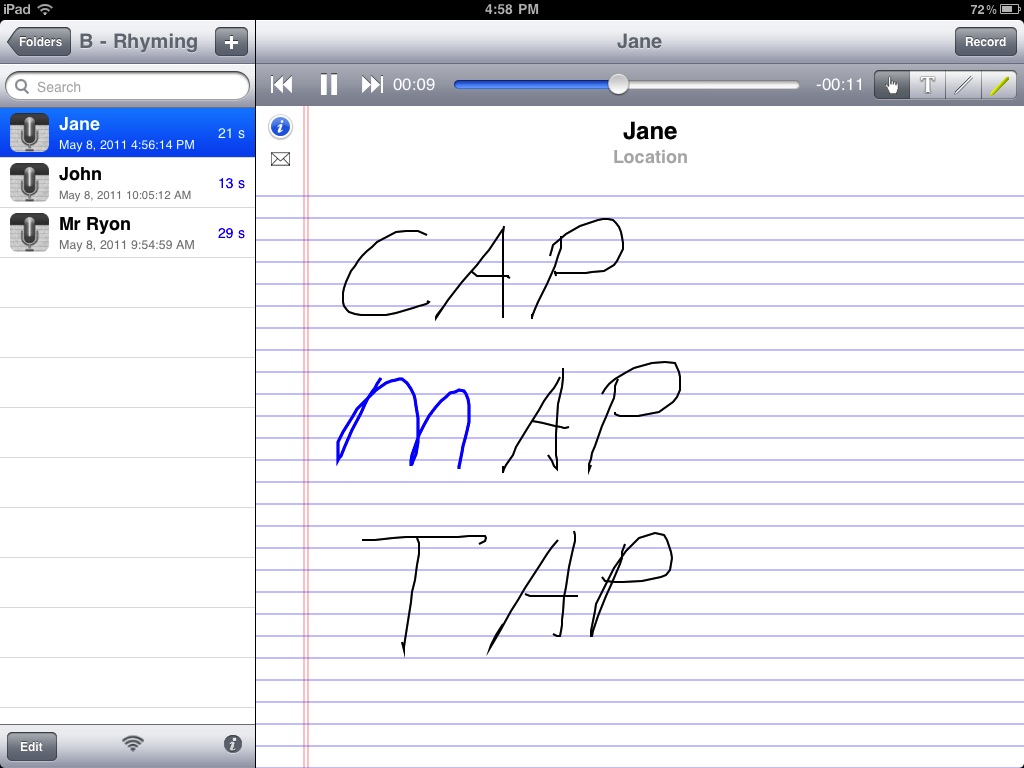 Jane's Entry, note that written words and highlighted one letter at a time.


